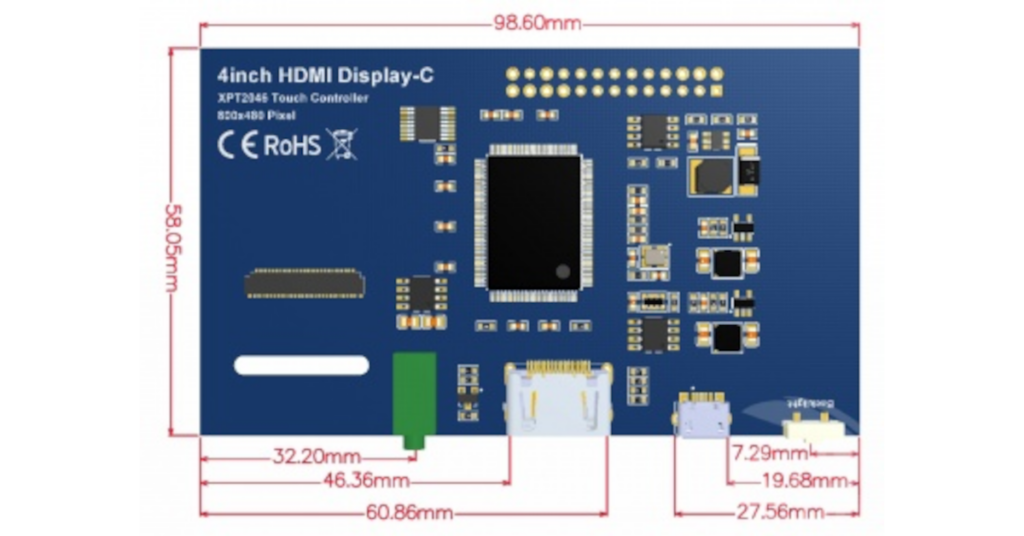
I purchased a cheap 4 inch HDMI LCD display off of amazon for one of my Raspberry Pi projects. The Miuzei 4 inch Display-C LCD Touch Screen has a resolution of 800×480, came with a fan, mounting hardware, and the HDMI/Micro-HDMI adaptor and seemed like the perfect thing for my project.
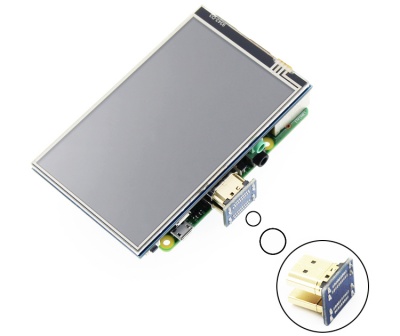
This was my first time working with a Raspberry Pi display that used the HDMI port for the display. This does make it easier to setup but it does limit your options on a case as it sticks out a little right between the power and audio connector. You should also note, that you need to make sure you get the correct adaptor. The Raspberry Pi 4 uses a micro-HDMI adaptor while the Raspberry Pi 3 and below use a standard HDMI connection. The adaptor that came with my display was for a Raspberry Pi 4.
The first thing to do when installing this display is to take the supplied heat sinks and add them into the Raspberry 4 chips. Then stick the supplied fan onto the GPIO connection (on the LCD panel (see the diagrams on the card that came with it). The fan is only needed if you are using a Raspberry Pi 4 as it does generate a lot of heat. For the Raspberry Pi 3 and below, a heatsink on the CPU is enough to supply cooling.
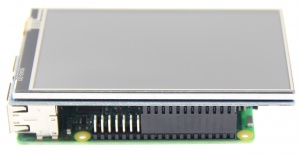
Connect the display to the GPIO port on your Raspberry Pi. Make sure the LCD GPIO connector is all the way to the right most pins (as in the picture). This supplies power and signals for the display and Touch screen.
Installing the Driver
Make sure you have Raspberry OS installed and you can login as the Pi user. In my case, I was using the latest version called (Bullseye).
Login on your raspberry pi (user: pi) and execute the following commands to fetch the drivers.
$ cd /home/pi
$ sudo rm -rf LCD-show
$ git clone https://github.com/goodtft/LCD-show.git
$ chmod -R 755 LCD-show
$ cd LCD-show
Now you have the latest drivers for the display (and a lot more as well). You need to run the script that will configure your display. This display is a model MPI4008 so type in the following code:
$ cd /home/pi/LCD-show
$ sudo ./MPI4008-show
After the installation of the driver is complete, the system will automatically reboot. Check your display, it should come up correctly now and the touch should also work.
Rotating the Display
If your display does not come up the correct way around, you can rotate it. There are two ways to rotate the display, Method 1 is used when you are installing the driver, and Method two is used if you already have the driver working but just want to rotate it. For my use, I found that I needed to rotate it 180 degrees.
Method 1: Rotate the display when you are installing the driver. You can specify the degrees to rotate the display at the end of the driver install commend (90, 180, or 270 degrees)
$ cd /home/pi/LCD-show
$ sudo ./MPI4008-show 180
Method 2: Rotate the display after the driver is installed and working. A utility called rotate.sh is supplied in the driver directory.
$ cd /home/pi/LCD-show
$ sudo ./rotate.sh 180
NOTE: I have found that running the raspi-config utility may reset the screen driver back. If this happens, you can just go into the /home/pi/LCD-show directory and reinstall the driver as show above.