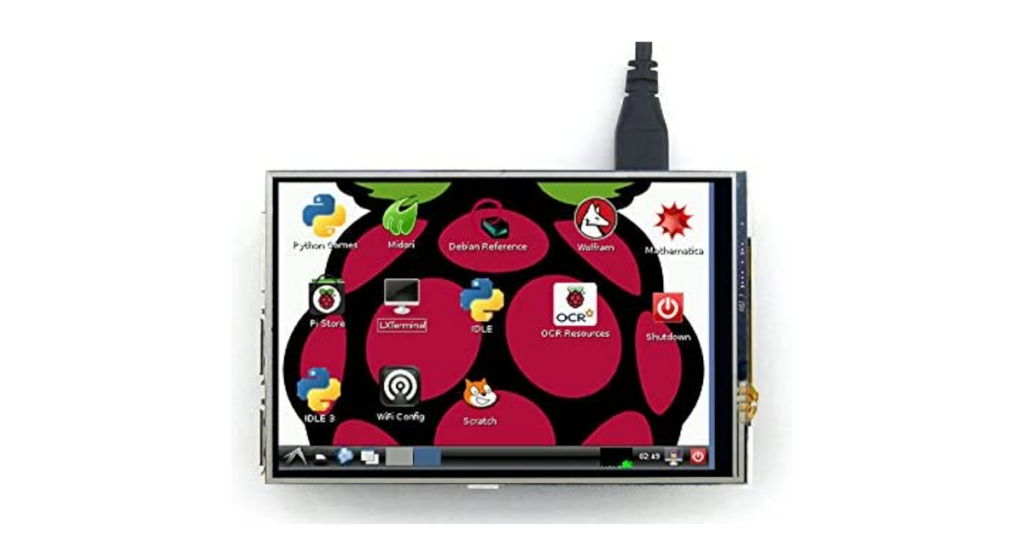
I love working with different Raspberry Pi screens. This time I purchased a 4 inch LCD display off of amazon for one of my Raspberry Pi projects. The Waveshare 4 inch LCD Touch Screen has a resolution of 480×320 and has a resistive touch display. This LCD uses the SPI interface on the raspberry Pi for both the TFT Touch panel as well as LCD display.
This display is a 4 inch TFT display that used the SPI interface on the Raspberry GPIO interface. This makes it nice and east to install, and keeps the HDMI interface free. Note: Even though the TFT LCD screen leaves the HDMI interface free, it can not be used at the same time as the screen. You can flip back and forth (by installing each driver) but it will require a reboot between use. The other nice thing about this interface is that it makes it compact. No HDMI plug or adaptor to worry about. This helps if you are trying to fit it into a hight location or tight case.
The first thing to do when installing this display is to add some heat sinks onto your Raspberry Pi. This unit did not come with heat sinks so you will have to purchase them separately but it does get warm so heatsinks will save you Pi.
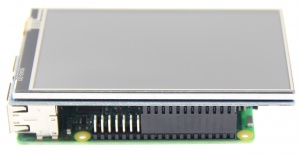
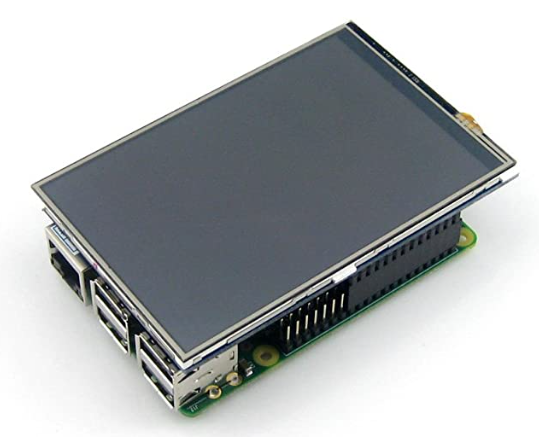
Connect the display to the GPIO port on your Raspberry Pi. Make sure the LCD GPIO connector is all the way to the right most pins (as in the picture). This supplies power and signals for the display and Touch screen.
Installing the Driver
Make sure you have Raspberry OS installed and you can login as the Pi user. In my case, I was using the latest version called (Bullseye).
Login on your raspberry pi (user: pi) and execute the following commands to fetch the drivers.
$ cd /home/pi
$ sudo rm -rf LCD-show
$ git clone https://github.com/waveshare/LCD-show.git
$ chmod -R 755 LCD-show
$ cd LCD-show
Now you have the latest drivers for the display (and a lot more as well). You need to run the script that will configure your display. This display is a model MPI4008 so type in the following code:
$ cd /home/pi/LCD-show
$ sudo ./LCD4-show
After the installation of the driver is complete, the system will automatically reboot. Check your display, it should come up correctly now and the touch should also work.
Rotating the Display
If your display does not come up the correct way around, you can rotate it. When you are installing the driver you can specify the orientation. If it doesn’t come up the right way around, then just reinstall the driver with the right rotation specified (90, 180, or 270)
$ cd /home/pi/LCD-show
$ sudo ./LCD4-show 180
NOTE: I have found that running the raspi-config utility may reset the screen driver back. If this happens, you can just go into the /home/pi/LCD-show directory and reinstall the driver as show above.